Billing
Nuxtbe comes with prebuild support for Stripe and LemonSqueezy. Learn how to configure them.
Stripe
Stripe is one of the options for handling payments. In order to enable Stripe as a payment provider, you need to do following steps:
Create Stripe secret key
- Open the API keys page in your Stripe Dashboard.
- Click "Create secret key" button in the top right.
- Wait for the verification code sent to your email or phone. Enter the code when prompted. Click "Continue" if needed.
- Enter a descriptive name in the "Key name" field (e.g., "Nuxtbe Production" or "Nuxtbe Development").
- Click "Create" to generate the key.
- Copy the displayed secret key by clicking on it.
- Store the key in
.envfile asSTRIPE_SERVER_SECRET_KEY.
- Add a note about where you stored the key and click "Done".
Never commit your Stripe secret key to version control or share it publicly.
Create Stripe webhook
- Go to the Webhooks page in your Stripe Dashboard.
- Click "Create an event destination" button.
- Enter your endpoint URL:
Please use public URL for your webhooks. If you use a private URL (such as Vercel preview URLs), you will not be able to receive webhooks from Stripe.
- Select events to listen to:
checkout.session.completedcustomer.subscription.deletedcustomer.subscription.updated
Feel free to add more events if you need them. But do not forget to handle them in the server/api/webhook/stripe.post.ts file.
- Click "Add endpoint" to create the webhook.
- Copy the "Signing secret" that appears.
- Store the signing secret in
.envfile asSTRIPE_WEBHOOK_SECRET:
Configure Stripe Customer Portal
Stripe requires you to configure the Customer Portal. You can do this by going to the Customer Portal in your Stripe Dashboard.
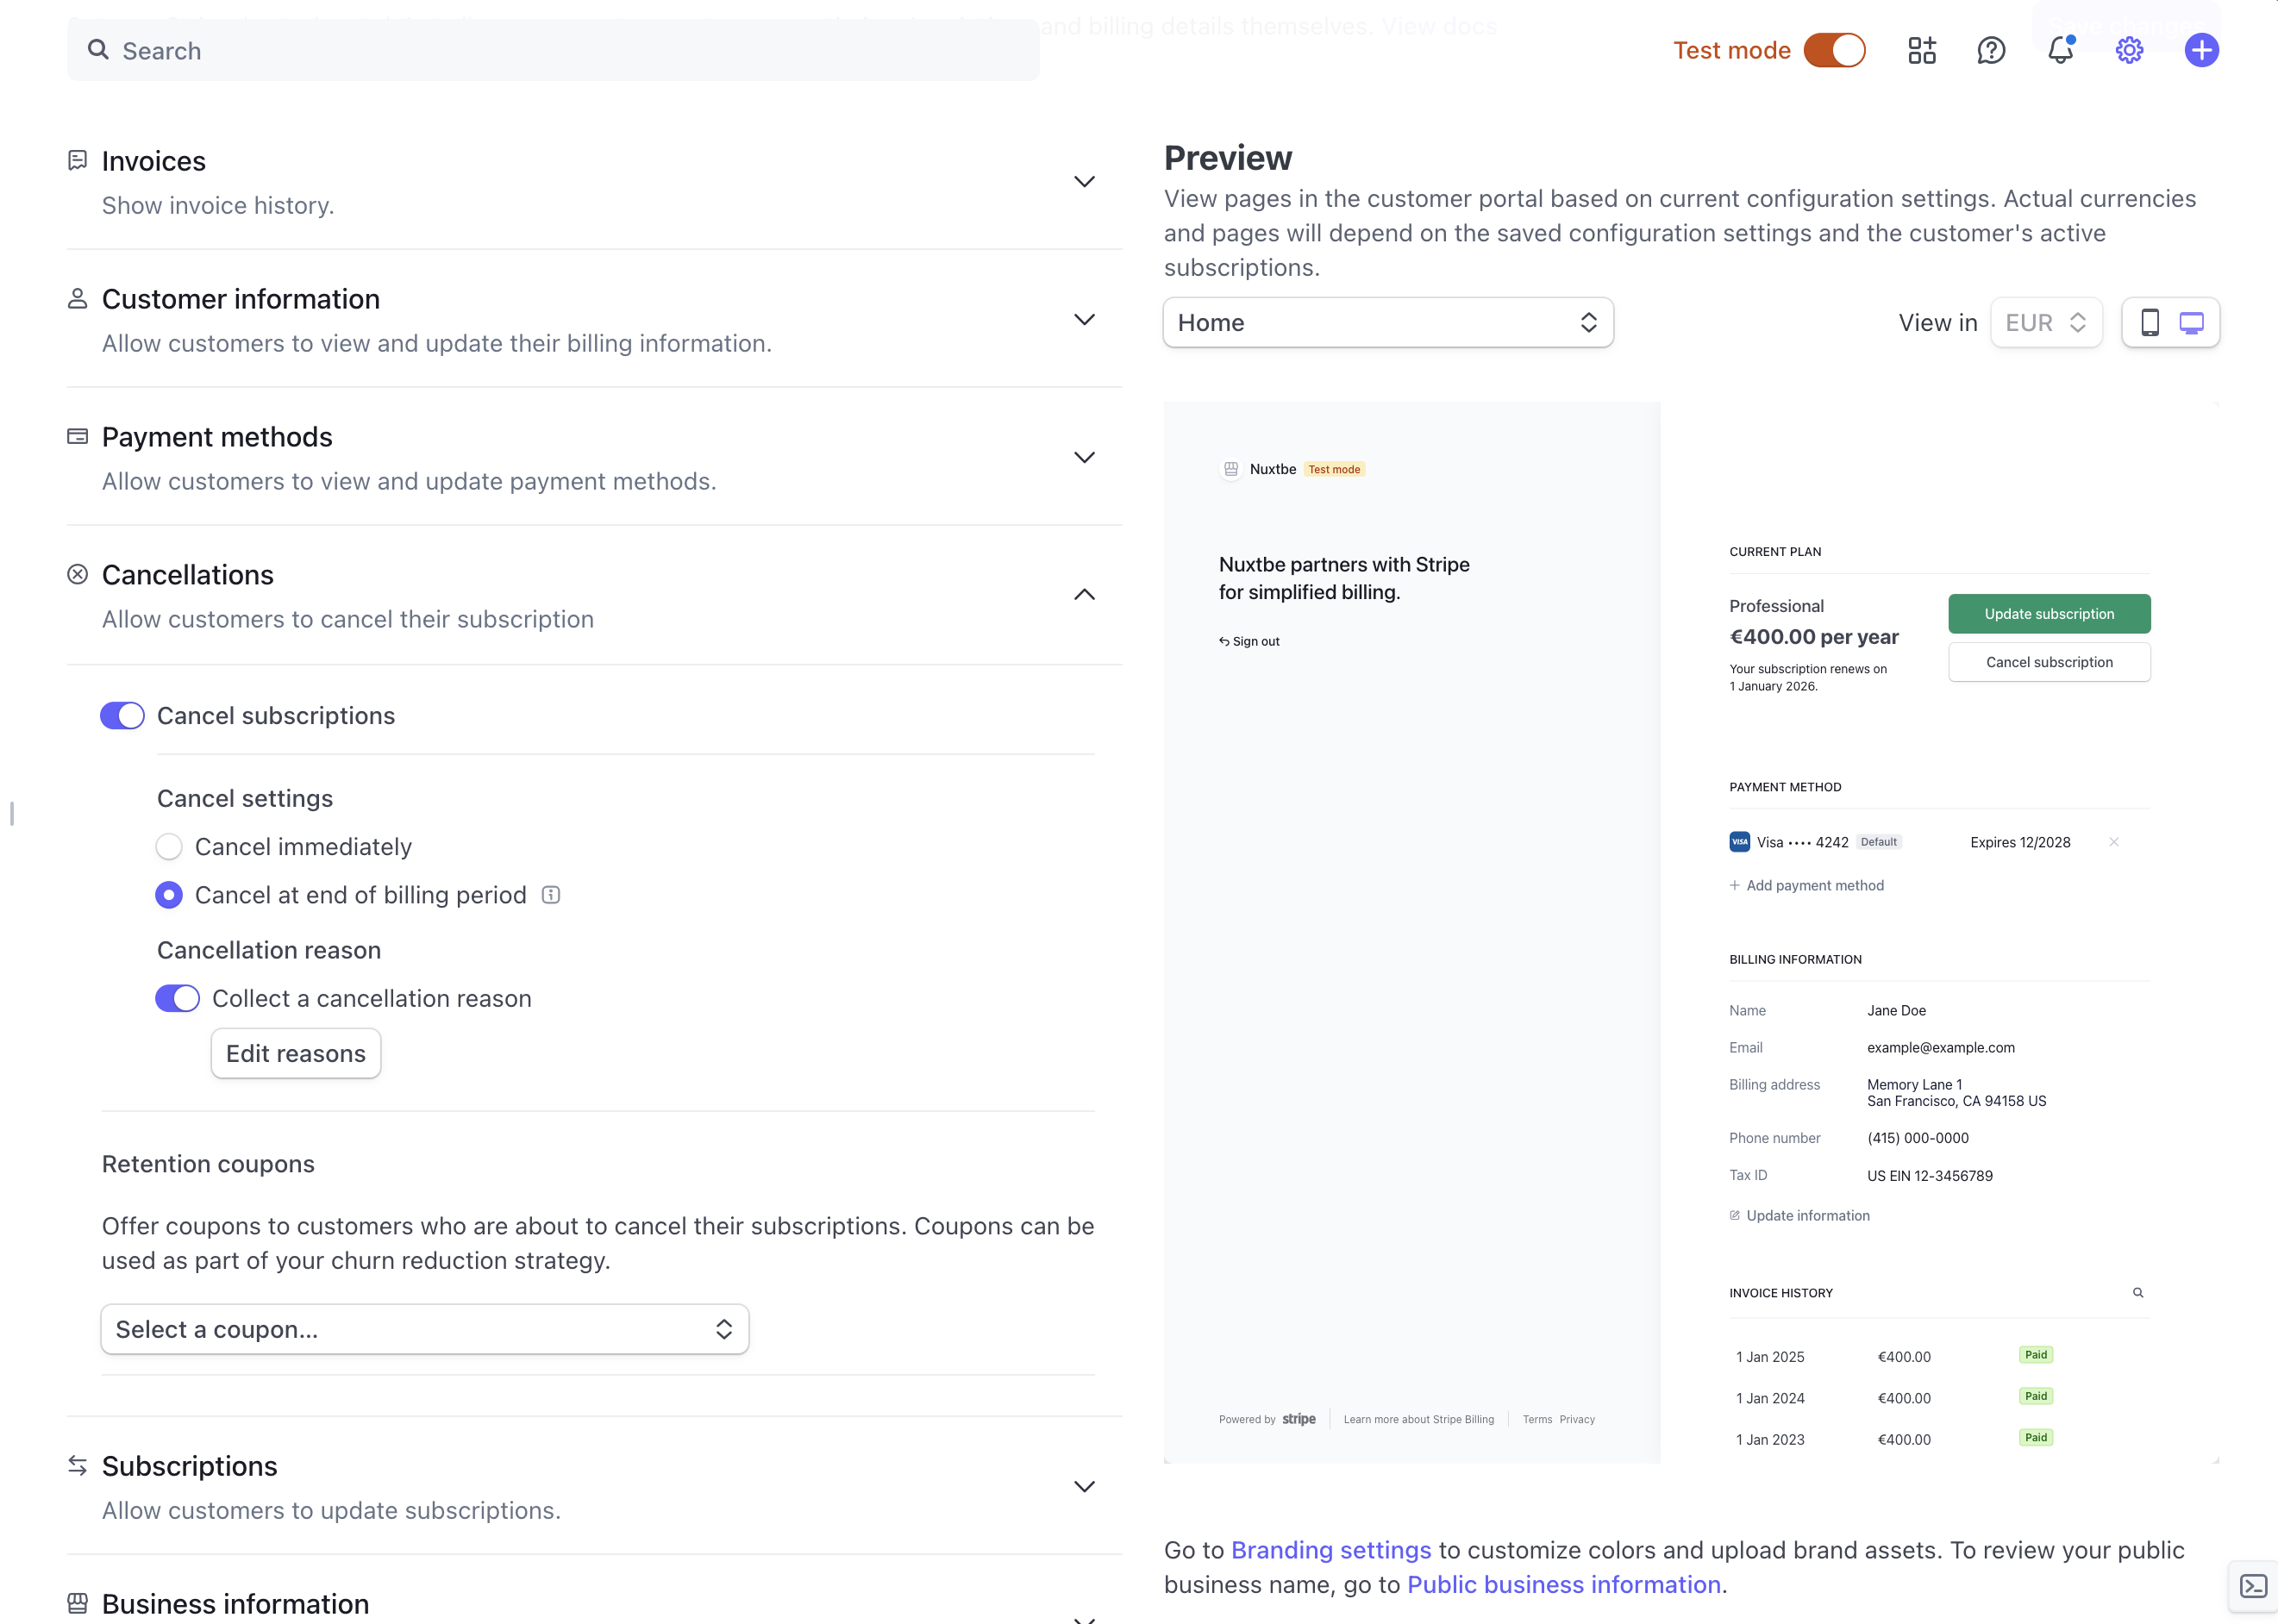
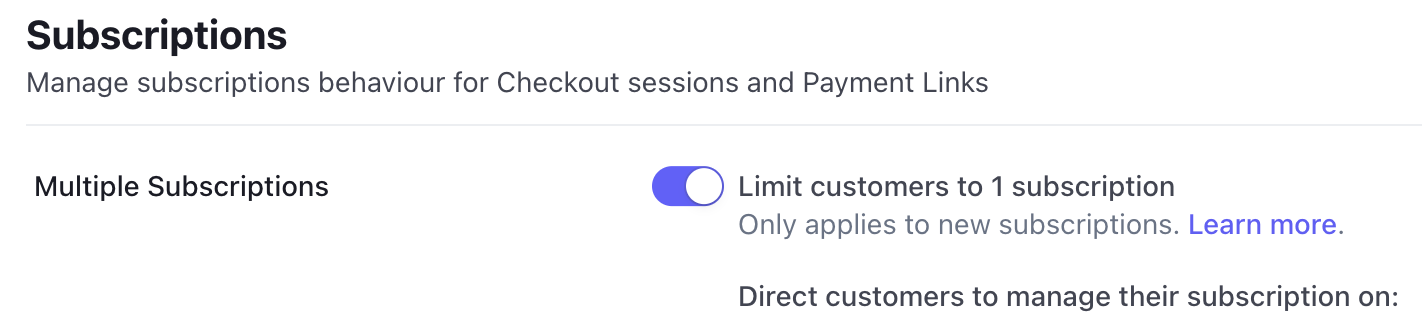
Also i recommend to Limit customers to only one subscription at a time. It can be done in the Customer Portal settings.
Configure app.config.ts
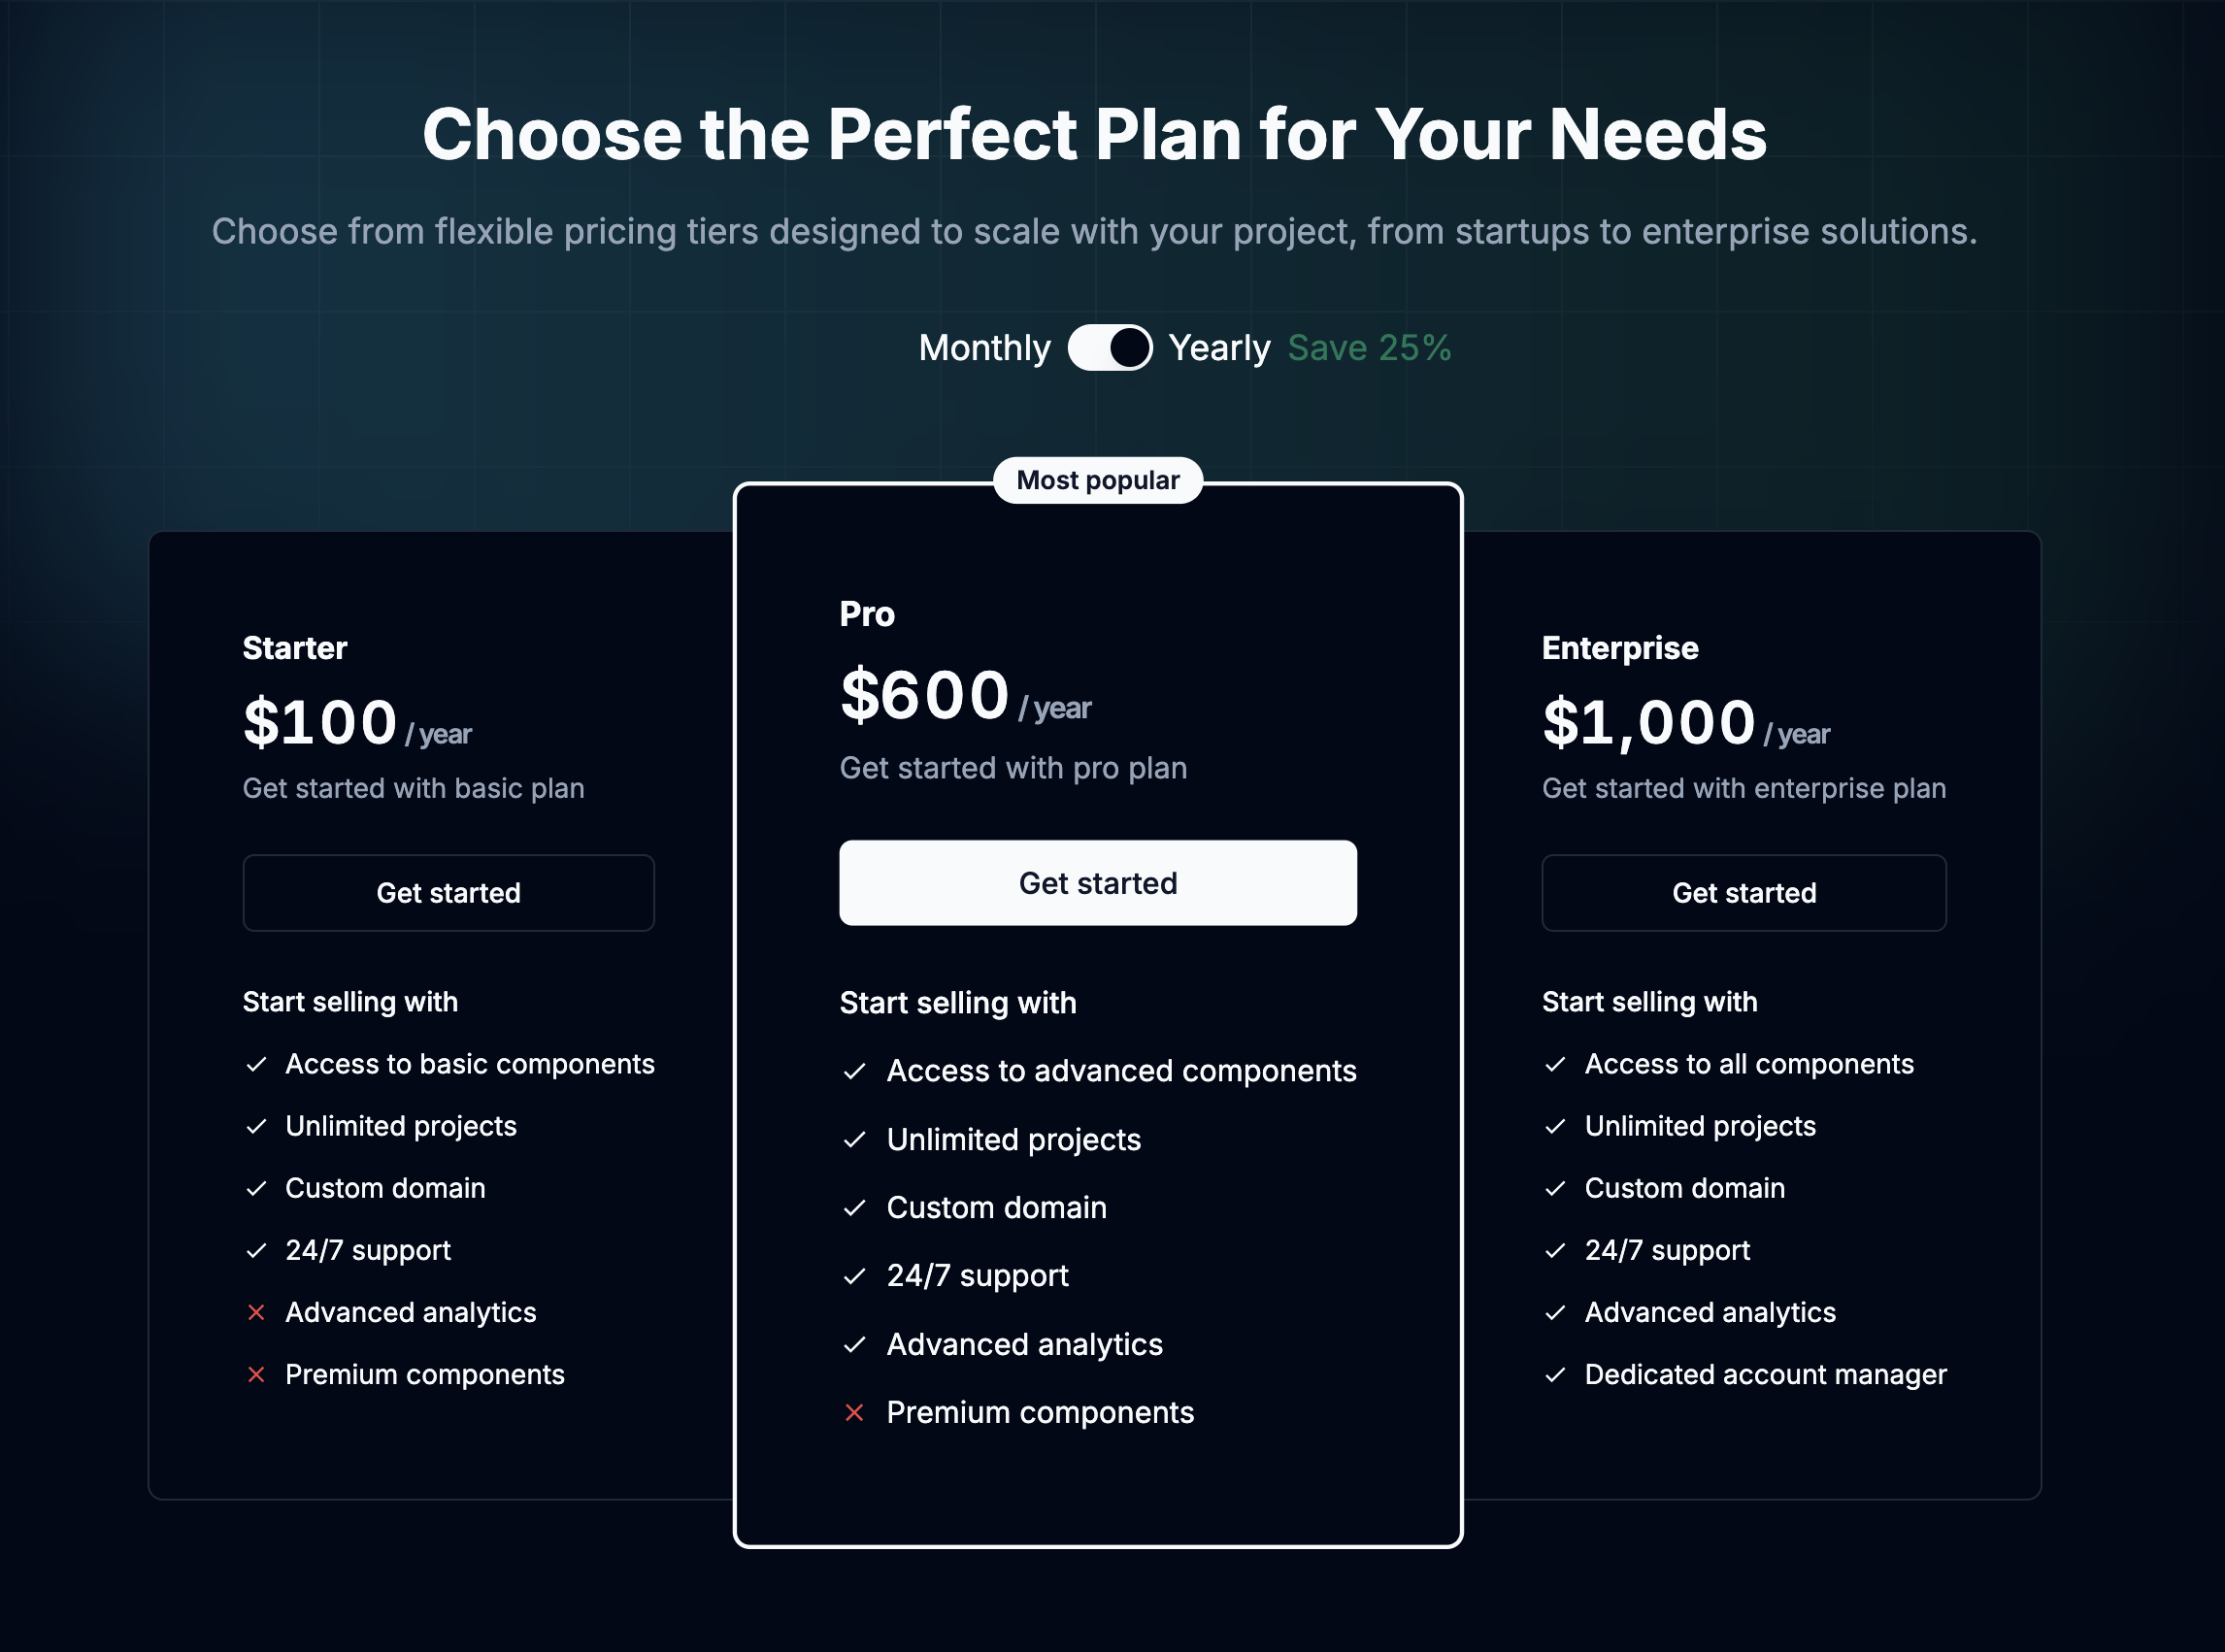
Nuxtbe handles payments via Stripe automatically, you just need to specify some configuration in the app.config.ts file. Moreover it already comes with predefined example plans.
Testing Stripe payments
To test if everything works fine, go to the pricing page and try to subscribe to a plan. You have to be redirected to the checkout page.
Testing Stripe locally
Stripe provide Stripe CLI for local testing. All you need to do is to login and run listen command.
Then run
It will listen for events and forward them to your local server.
LemonSqueezy
Nuxtbe comes with built-in support for LemonSqueezy as a payment provider. This guide will help you set up and configure LemonSqueezy for your application.
Create LemonSqueezy Account
- Sign up for a LemonSqueezy account.
- Complete your store setup in the LemonSqueezy dashboard.
Generate API Key
- Navigate to the API Keys section in your LemonSqueezy dashboard.
- Click
+button to generate new key. - Give your key a descriptive name (e.g., "Nuxtbe Production").
- Copy the generated API key.
- Store it in your
.envfile:
Never commit your LemonSqueezy API key to version control or share it publicly.
Configure Webhook
- Go to the Webhooks section in your LemonSqueezy dashboard.
- Click "Add webhook".
- Enter your endpoint URL:
- Select the following events to listen to:
order_created- Triggered when a payment is successfully processedsubscription_plan_changed- Triggered when a user changes their subscription plansubscription_expired- Triggered when a subscription expires
- Copy the signing secret.
- Store it in your
.envfile:
Use a public URL for your webhooks. Local or preview URLs won't receive webhook events from LemonSqueezy.
Create Products and Variants
- Create your products in the Products section.
- For each product:
- Set up pricing variants (monthly/yearly)
- Configure subscription options if needed
- Note down the product and variant IDs for configuration
Configure app.config.ts
Configure LemonSqueezy in your app.config.ts:
Testing Locally
To test webhooks locally:
With ngrok
- Install ngrok
- Run your Nuxt application
- Start ngrok:
- Use the generated ngrok URL in your LemonSqueezy webhook settings
- Test a purchase using LemonSqueezy's test mode
With Cloudflare Tunnel
Or you can use dev with --tunnel flag to automatically generate a tunnel for you.
- Run dev with tunnel flag
- Use the generated URL in your LemonSqueezy webhook settings. The URL will be shown in the console and will be something like
https://<random-string>.trycloudflare.com. - Test a purchase using LemonSqueezy's test mode
Important: Remember to remove any testing webhook URLs from your LemonSqueezy dashboard once you've completed testing to maintain a clean production environment.
Usage Example
The pricing component will automatically use your LemonSqueezy configuration: